
90% Rule Calculator
Trade Parameters
Results
Enter your parameters and click "Calculate Position Size" to see your risk analysis and recommended position size.
Traders constantly look for a simple guardrail to keep losses in check while still chasing profits. The 90% rule is one of those guardrails - a rule‑of‑thumb that says you should never risk more than 10% of your trading capital on a single trade. In practice, it translates to keeping the amount you could lose per trade at or below 10% of your total account balance. Below is a straight‑forward guide that tells you what the rule really means, how to apply it, and where it can mislead you.
Key Takeaways
- The 90% rule caps the risk per trade at 10% of your total capital.
- It is a risk‑management tool, not a profit‑target strategy.
- Proper position sizing and stop‑loss placement are essential to make the rule work.
- For most retail traders, risking less than 2%‑5% per trade is safer than the full 10% allowance.
- Combining the rule with win‑rate and reward‑to‑risk analysis gives a clearer picture of long‑term expectancy.
What Exactly Is the 90% Rule?
At its core, the 90% rule is a risk‑management principle. It states that the maximum loss you should accept on any individual trade must not exceed 10% of your current trading capital. If you have $20,000 in a brokerage account, the most you would ever let a single losing trade take away is $2,000.
Why 90%? The number comes from a conservative mindset: you keep 90% of your capital intact after a worst‑case loss, ensuring you still have enough margin to stay in the market and recover. The rule is often introduced to beginners who tend to over‑leverage or chase big moves without a safety net.
How to Calculate the Risk Per Trade
Before you can enforce the rule, you need to know three things: your total capital, the size of the position you plan to open, and where you’ll place your stop‑loss. The formula looks like this:
Maximum Risk per Trade = Total Capital × 10%
Once you have that dollar amount, you work backwards to figure out how many shares, lots, or contracts you can buy.
Example:
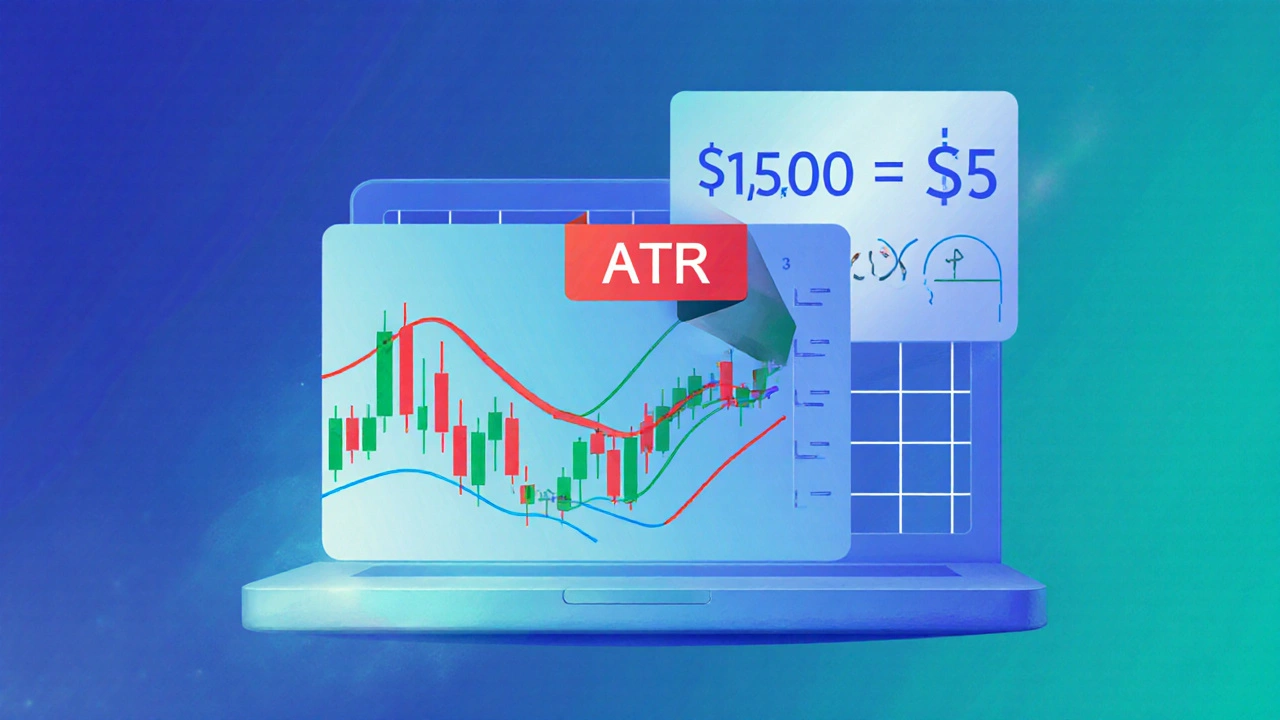
- Account balance: $15,000.
- 10% risk limit: $1,500.
- Chosen entry price: $50 per share.
- Desired stop‑loss: $45 (a $5 drop).
- Shares you can afford: $1,500 ÷ $5 = 300 shares.
By limiting yourself to 300 shares, you guarantee that even if the price hits the stop, you’ll lose exactly $1,500 - no more, no less.
Position Sizing: The Engine Behind the Rule
Position sizing is the process of determining how many units of an asset to trade based on your risk tolerance. It directly links your risk limit to the distance between entry and stop‑loss. Good position sizing ensures the 90% rule stays practical across assets with different price volatility.
To size a position correctly, consider the asset’s average true range (ATR) or recent price swings. A volatile stock might need a wider stop‑loss, which reduces the number of shares you can afford under the 10% cap. Conversely, a low‑volatility pair lets you sit closer to the entry price, allowing a larger position.
When the 90% Rule May Not Be Ideal
While the rule is simple, it’s not a one‑size‑fits‑all solution. Here are a few scenarios where relying solely on the 90% rule can backfire:
- High‑frequency traders execute dozens of trades per day; risking 10% on each would quickly blow the account.
- Seasoned professionals often target a risk of 1%‑2% per trade to preserve capital over long horizons.
- If you trade a highly leveraged instrument (e.g., futures), a 10% loss can trigger margin calls far before the stop triggers.
In those cases, traders usually adopt a tighter risk limit-often 2%‑5% of capital per trade-to stay alive during inevitable losing streaks.
Combining the 90% Rule with Win Rate and Reward‑to‑Risk Ratio
Risk management alone doesn’t guarantee profitability. You also need a positive expectancy, which depends on two other metrics:
- Win rate - the percentage of trades that end in profit.
- Reward‑to‑risk ratio - the average profit per winning trade divided by the average loss per losing trade.
Even if you never exceed the 10% loss limit, a low win rate combined with a poor reward‑to‑risk ratio can still erode your account. For example, a 40% win rate with a 1:1 reward‑to‑risk ratio yields a negative expectancy. To make the 90% rule work, aim for at least a 2:1 reward‑to‑risk ratio or improve your win rate above 50%.
Comparison: 90% Rule vs. Kelly Criterion vs. 2% Rule
| Rule | Typical Risk per Trade | Focus | Best For |
|---|---|---|---|
| 90% Rule | Up to 10% of capital | Simple capital protection | Beginners, low‑frequency traders |
| 2% Rule | 2% of capital | Long‑term survivability | Intermediate to advanced traders |
| Kelly Criterion | Variable (based on edge & odds) | Optimal growth rate | Quantitative and professional traders |
Notice how the 90% rule allows a much larger loss per trade. The 2% rule reduces risk dramatically, making it easier to survive a string of losers. The Kelly Criterion tries to balance growth and risk but requires a reliable edge estimate, which many retail traders lack.

Step‑by‑Step: Applying the 90% Rule to a Real Trade
- Determine your total trading capital.
(e.g., $12,000) - Calculate 10% of that amount.
($1,200 maximum loss per trade) - Select a market and identify entry price.
(Stock XYZ at $30) - Set a stop‑loss level based on technical analysis.
(Stop at $27, $3 risk per share) - Compute the number of shares you can buy: $1,200 ÷ $3 = 400 shares.
- Place the trade with 400‑share size and a stop‑loss at $27.
- Monitor the trade; if it hits the stop, you exit with exactly $1,200 loss.
- Re‑evaluate after each trade: update capital, adjust risk if you’ve gained or lost money.
This disciplined flow keeps you from over‑exposing any single bet and preserves enough equity to take the next opportunity.
Common Mistakes and How to Avoid Them
- Ignoring volatility. Using a fixed $5 stop on a volatile stock can force a premature exit. Adjust stop distance with ATR or recent range.
- Relying on the rule alone. Pair it with a solid win‑rate strategy and a favorable reward‑to‑risk ratio.
- Not updating capital. After a win or loss, recalculate the 10% figure; otherwise you risk drifting away from the rule.
- Over‑leveraging. In margin accounts, a 10% loss can swing into a larger percentage of equity due to leverage. Reduce position size accordingly.
When to Adjust the Rule for Your Style
If you trade daily with small account sizes, a 10% cap might still be too large. Many day‑traders adopt a 1%‑2% risk per trade to safeguard against overnight gaps. Swing traders who hold positions for days or weeks may feel comfortable with the 10% ceiling, especially if they have a high reward‑to‑risk ratio (e.g., 3:1).
Regardless of the percentage you choose, the underlying principle stays the same: Never let a single trade jeopardize more than a pre‑decided slice of your capital.
Frequently Asked Questions
What does the 90% rule actually protect?
It protects your overall capital by limiting the loss from any single trade to 10% of your account, ensuring you always have enough equity left to stay in the market.
Is the 90% rule suitable for beginners?
Yes, because it’s simple to calculate and gives a clear safety net. However, beginners should consider starting even tighter, like a 2%‑5% risk per trade, to build discipline.
How does the rule interact with leverage?
Leverage amplifies both gains and losses. If you’re using 5:1 leverage, a 10% loss on the position actually eats 50% of your equity, so you must either reduce position size or lower the risk percentage.
Can I use the 90% rule for cryptocurrency trading?
You can, but crypto’s extreme volatility often requires wider stops, which reduces the number of contracts you can afford. Many crypto traders opt for a more conservative 5% risk per trade.
What if my win rate is low? Does the 90% rule still work?
A low win rate can still be profitable if your reward‑to‑risk ratio is high enough (e.g., 3:1). The 90% rule only caps loss; you still need a sound strategy to generate enough upside.


Write a comment